
30 November 2011
28 November 2011
I Love Pinterest! - Pullover to cardigan

I love pinterest. Really. It's a complete addiction for a creator like me. So many ideas. So many ideas!! It's an absolute creative overload. I've picked out a few things here and there to try. Here's another one.

I have a few sweaters that are just too short but I can't part with them. The red/orange one is planned for my little Olive as a cute dress, I'll cover that project at a later time. The sweater on the right is perfectly nice, but just skims past my belly button, not really where I'd like it to be right now so I decided to try to make it into a cardigan I could wear open.


Simply enough, I just cut it down the center and then stitched it back up using a 1/2 inch hem. I adjusted my machine to long stitches so it wouldn't pull the knit of the sweater. I also used my walking presser foot.

A few buttons from my bin to give the edge some interest. Purely decorative.


To keep them where I want them I used a dab of elmer's glue, then I stitched them in place by hand
That's it. Over a nice fitted white shirt it's just perfect.
23 November 2011
Pinterest Jewelry boxes
I saw the most clever storage solution EVER on Pinterest for jewelry!

This is AWESOME!
Had to make some of my own immediately. I have a long narrow spot behind my door that would be perfect for it too.
Let's get the supplies together.

-bamboo cutlery tray - $7.99 to $11.99 each from Walmart
-package of 30 cup hooks - $2.95
-drill with small drill bit
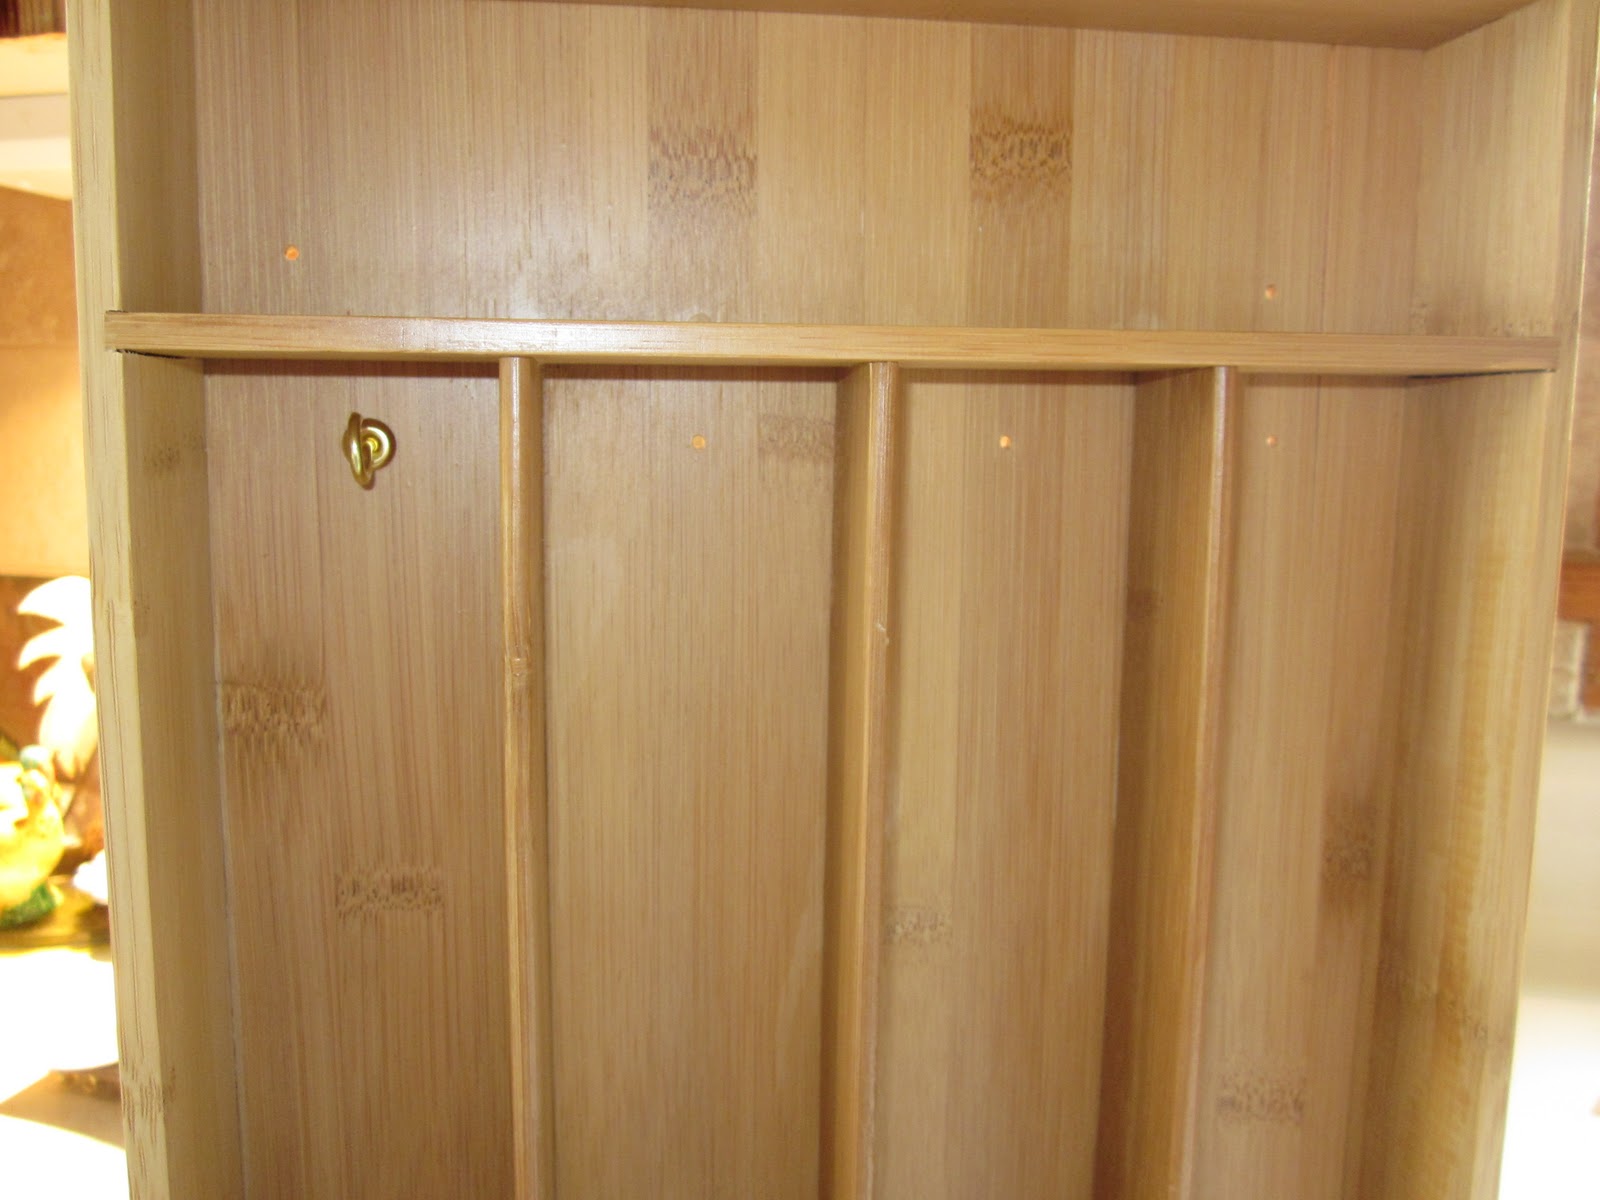
Drill pilot holes and twist in cup hooks where you'd like them. I also drilled holes where I would put the screws to attach it to my wall.


2 on the wall

Hmm.... think I need 2 more.... I have a lot of jewelry. (handmade by me also)

Yup, much better - while I was at it I also added a board with hooks for my belts, scarves, and odd sweaters I toss on when I get chilly.

I have some really long pieces that didn't fit into the compartments so I also added a hook on each side of the outside.
Next, I need to find some little boxes or something to go into the horizontal spots....

like here....
Easy easy easy!!!
16 November 2011
2 quilts for 2 different bundles of joy

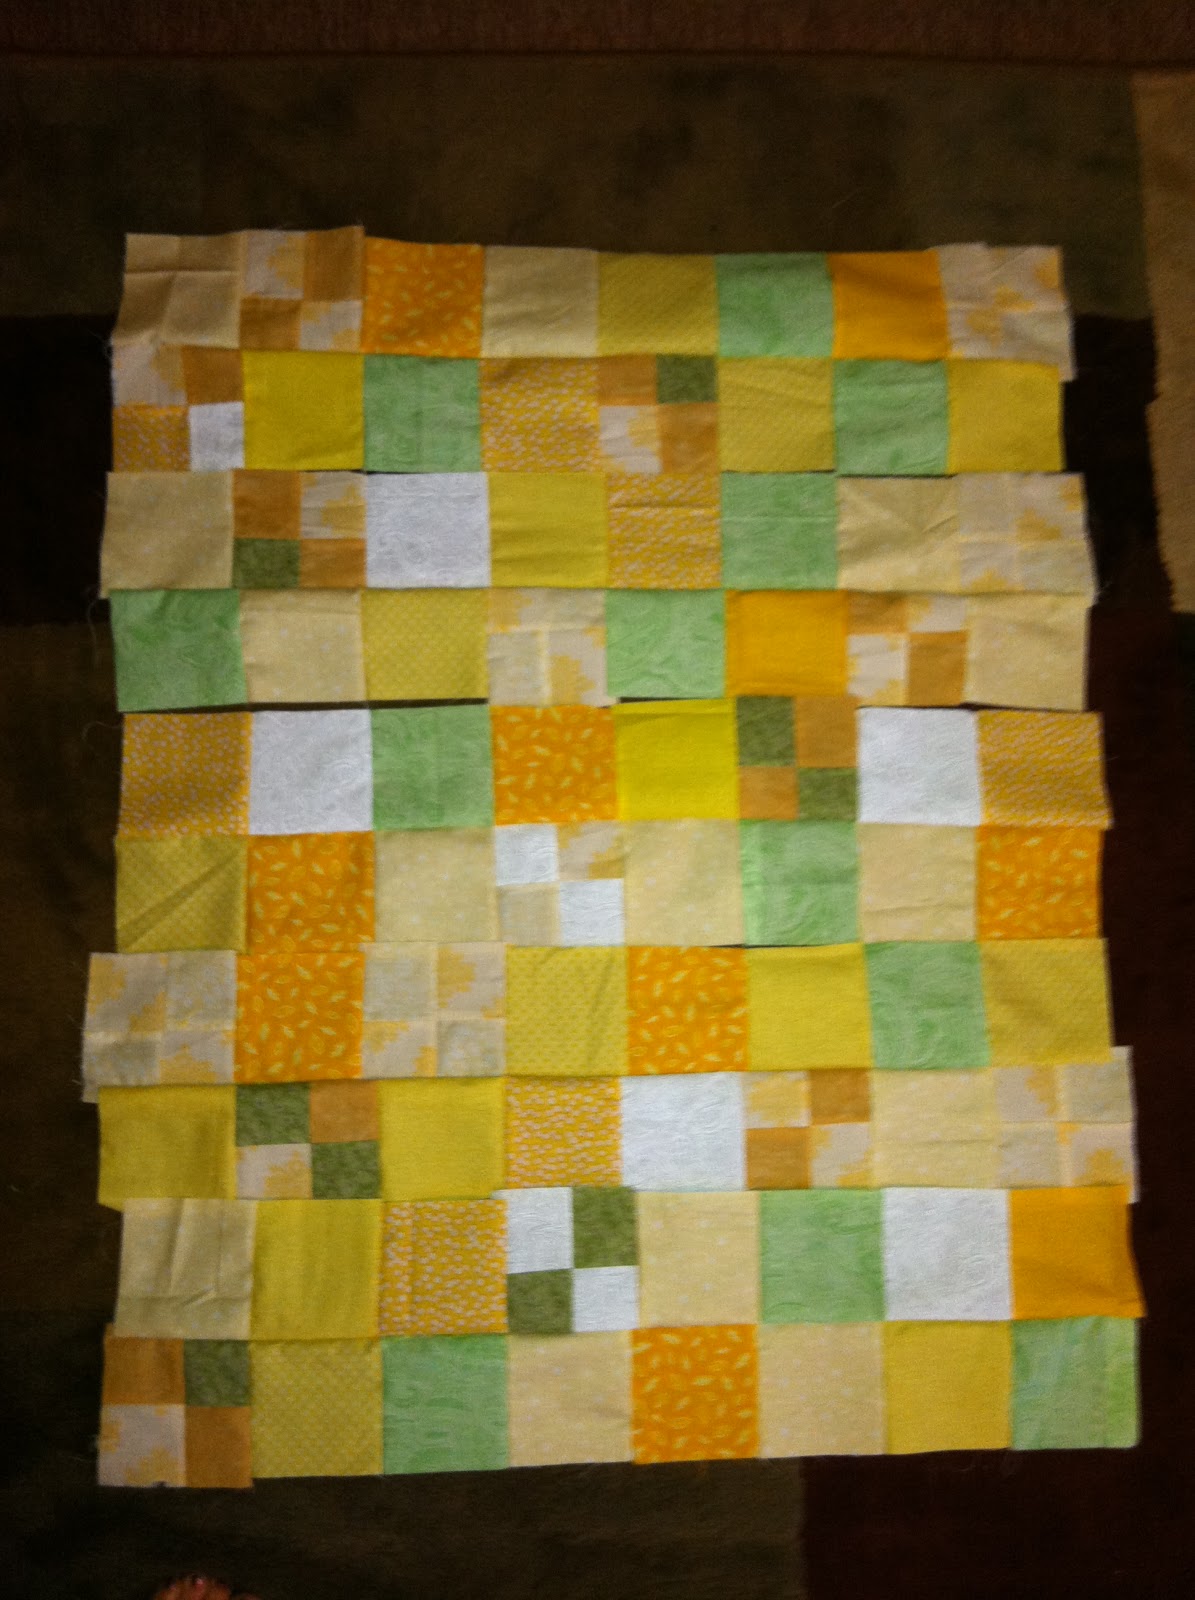
I have 2 people close to me expecting little ones so I wanted to make them quilts. One for a girl in pinks, and one for a "surprise" in yellow.
I found a tutorial for this lone star and it seemed easier than I originally thought. Well, it was and it wasn't. LOL
Piecing and making the star sections = easy.

Getting the star sewn together precisely = not easy.

(and just noticed the exploding clothes pin bucket, nice)
This is with two little seams I had to go back and stitch together by hand. I quilted around the star and in smaller stars every 3 rows or so til I got to the center. Then did the triangles and squares in rows. Also had a pieced backing that I don't think I have a photo of. Oh Lori??? - I put in my request for a photo of the bambina with the quilt please. :)
The yellow one is just a real simple patchwork, with a 4 block every now and then for accent. I didn't follow a pattern, just made it up as I went.

Quilting this time on the diagonal, with every other pass having a double line.

Best wishes to the parents-to-be!!
11 November 2011
I love fall

Everything about fall I love. I love the crisp mornings, I love the smell of leaves, I love the colors, I love raking leaves for the kids to jump into, and bundling up to go to soccer games in the mornings on Saturdays.
One Saturday I parked my chair beside a coach of the opposing team. We're talking about U-6 and U-8 games so we're still (moderately) friendly with most other families involved. (I will not like the point where the other parents yell at my kids. I'm saying that upfront right now)

This coach laid out a quilt for the players not in the game that quarter to sit on. AND I COULD NOT STOP LOOKING AT IT. It was a flannel patchwork quilt. Handmade and hand quilted. So unbelievably cute I knew that was the absolutely next thing I was going to make.
A quick trip into Goodwill and I had 4 size 2XXL shirts for less than $3.00 each. A few cuts to take off the arms, split the seams, cut off the collars from the fronts and I had a large stack of material, (and I didn't even touch the whole piece on the back of any of the shirts!)


 leftover cuffs with buttons

 I will do something cute with the front piece with the pocket still attached :)
 all this from the sleeves!
 the leftover backs
 I just randomly pieced 2 squares together and ran them through my machine one after another in a long string.
 2 by 2s made a 4 square block. then 4 - 4 square blocks made this 16 square block.


9 - 16 square blocks made this -3 blocks per row
I added a maroon frame, and a striped border (from the remnant bin at JoAnn's)
I added a maroon frame, and a striped border (from the remnant bin at JoAnn's)

I didn't quite have enough material for a solid flannel backing so I decided to add a square in the center for fun.

The second quilt above came from an advertisement for Better Homes and Gardens at Walmart. I love this leaf pattern on the bed so I ripped out the ad and used more of the squares I had leftover from the Soccer Patch. A closer look and a quick sketch of a block to get started....


Here's one.

three....

and four ready for the stems.

A strip of the flannel backing from the first quilt, folded in half, machine stitched in place and then folded over again, this time hand stitched into place.

I played around with the layout a bit but finally decided on a pinwheel placement. This quilt is small. Lap size. Each block only 16". Adding a thick border around each block plus a border around the whole lot. I also added some 4 patch blocks in the intersections.


I think the falling leaves would make a lovely full size quilt too. I do have a spare bedroom........
Subscribe to:
Posts (Atom)