28 September 2012

some oldies

As I was trying to speed up my computer, I stumbled on some painting photos I wanted to share just for fun.   Here's a few more things I've worked on....


 A bench for the Millersburg Class of 1954


assorted end of the year awards for the sports teams


some cakes 
(I worked in a deli/bakery for 14 years out of high school as a side job)


I even scrapped a little
 (although I can't remember when I found the time!)


Finally, here's some tooth fairy boxes made from Altoid containers.

26 September 2012

CREATE sign in my artroom

 Letters are MDF from Michaels craft store.   Black matboard background


 materials from left to right -
C = colored paper
R = spray paint layered over water
E = fabric scraps, ribbon, buttons, and glitter glue
A = sharpie marker circles
T = acrylic paint
E = colored paper and mosaic squares


18 September 2012

Next up - fleurette jacket

It's a dreary, rainy Tuesday.  Hot tea in my mug, a pot of spaghetti sauce is simmering on the stove.  My little Olive is playing with a few stuffed animals.   

 I've started the bodice part of this Fleurette Jacket. (Ravelry - Fleurette Jacket ) Hoping I have a finished sweater before the end of the year.  (I'm not a fast knitter and my time span spent working on it ranges from 15 minutes to 45 minutes before someone wakes in the morning)


Queensland Collection Rustic Wool DK in olive from Webs.

12 September 2012

A cross-post from my school blog

I have my classroom on another page on blogger and I know this craft is a good post for both spots.


In a few weeks it will be coat weather and due to schedule changes, my younger classes will be coming right to ART after recess.  To keep coats and scarves from becoming a jumbled pile, I thought up a coat rack to hang outside my classroom.

Using the big box of spare spools, some yarn leftovers, and 2 previously painted and distressed-naturally 2x4s from my wood pile at home,  I made this quick coat rack.


Paint is Glidden Olive Oil (thank you free quart giveaway.  I knew free paint would always come in handy for an artist!) 


3" drywall screws held the spools in place and a few more secured it to the wall.   Hot glue attached the yarn to each spool.


I think I'll go down the row with the hot glue gun and my button box to cap the screws in the center too.

11 September 2012

A few more baby quilt details


School has begun both for teaching and for learning, my grad class is in full swing now too.  Getting some home projects completed, working on my classroom blog, and keeping up with life takes a bit of time as you can imagine and understand I'm sure.

 I just passed on this gift so I'll post some more detailed photos of this cute little crib quilt. 


I quilted in various width straight lines down the length of the quilt this time.  I really like the effect.


The recipients loved it and here's to a happy, healthy delivery for them all!


30 August 2012

Drops design cardigan

This is really a lovely sweater.  There is just enough decorative detail at the waistline to make it interesting but not difficult.

Drops Design 119-34


I'm not sure how well my 3 year old would do as photographer so I'll have to post photos of the sweater actually on my person later.  :)


19 August 2012

feelin' like fall


 toasting piggie toes in the evenings


 a chill in the morning air


 time to finish up some knitting.   Maybe I'll wear this before spring this year?


18 August 2012

have an ugly sink?

I do.  At least, I did. 

I have an old house, built in 1937 but from what I can tell many home improvement activities occured in 1967 or so.  Including the stapled-in drop ceiling and make shift closet in my downstairs bath, and several uniquely placed cabinets.

This upstairs bathroom cabinet had some minor surface damage in the interior and was just plain ugly. 

So Pinterest to the rescue!! 

from this before......

add 6 stick down floor tiles and get this


Simple things make me happy.


12 August 2012

Another baby quilt!


Inspired to really get something fun accomplished just for myself, I dug around in the fabric bin for a different color combination for this baby quilt.   The parents to be are waiting for the surprise at the birth, so no pinks and blues here.   Instead I picked out some golden yellows, aqua, and peach just to see what I could come up with.

First, a little strip piecing....


then I split the top and flipped the stripe around in the other direction for an accent.


(ignore the strings!)


one more pieced accent stripe on the back and it's all ready to sandwich together.

I think I'll use the peach color for a binding to set it off.


What do you think of the color combination? 

10 August 2012

finally summer

I have finished my summer grad class requirements and received a grade.

I have just submitted my big paperwork write up for my second 'job'.

I have washed, folded, and put away all the laundry.

My house is clean.  (notice I didn't say tidy - there's some lego issues)


Summer can begin!

Wait - Oh crap, it's August.    


Fall grad class starts 20 Aug.

School starts 23-24 Aug for me.


Ok, so summer for me will be 10-20 August.    Woo.


05 August 2012

My big news (finally)


I submitted a sketch to my Wing for a Nost Art competition and my sketch was picked!

This design will be painted on the side of a military air plane!!

19 July 2012

Topics in Fiber - Paper intensive

What a run of days I've had!   I do not think I have been home for 15 hours on 2 consecutive days since June 20th and I am wiped out.  Here's a brief post on my class!

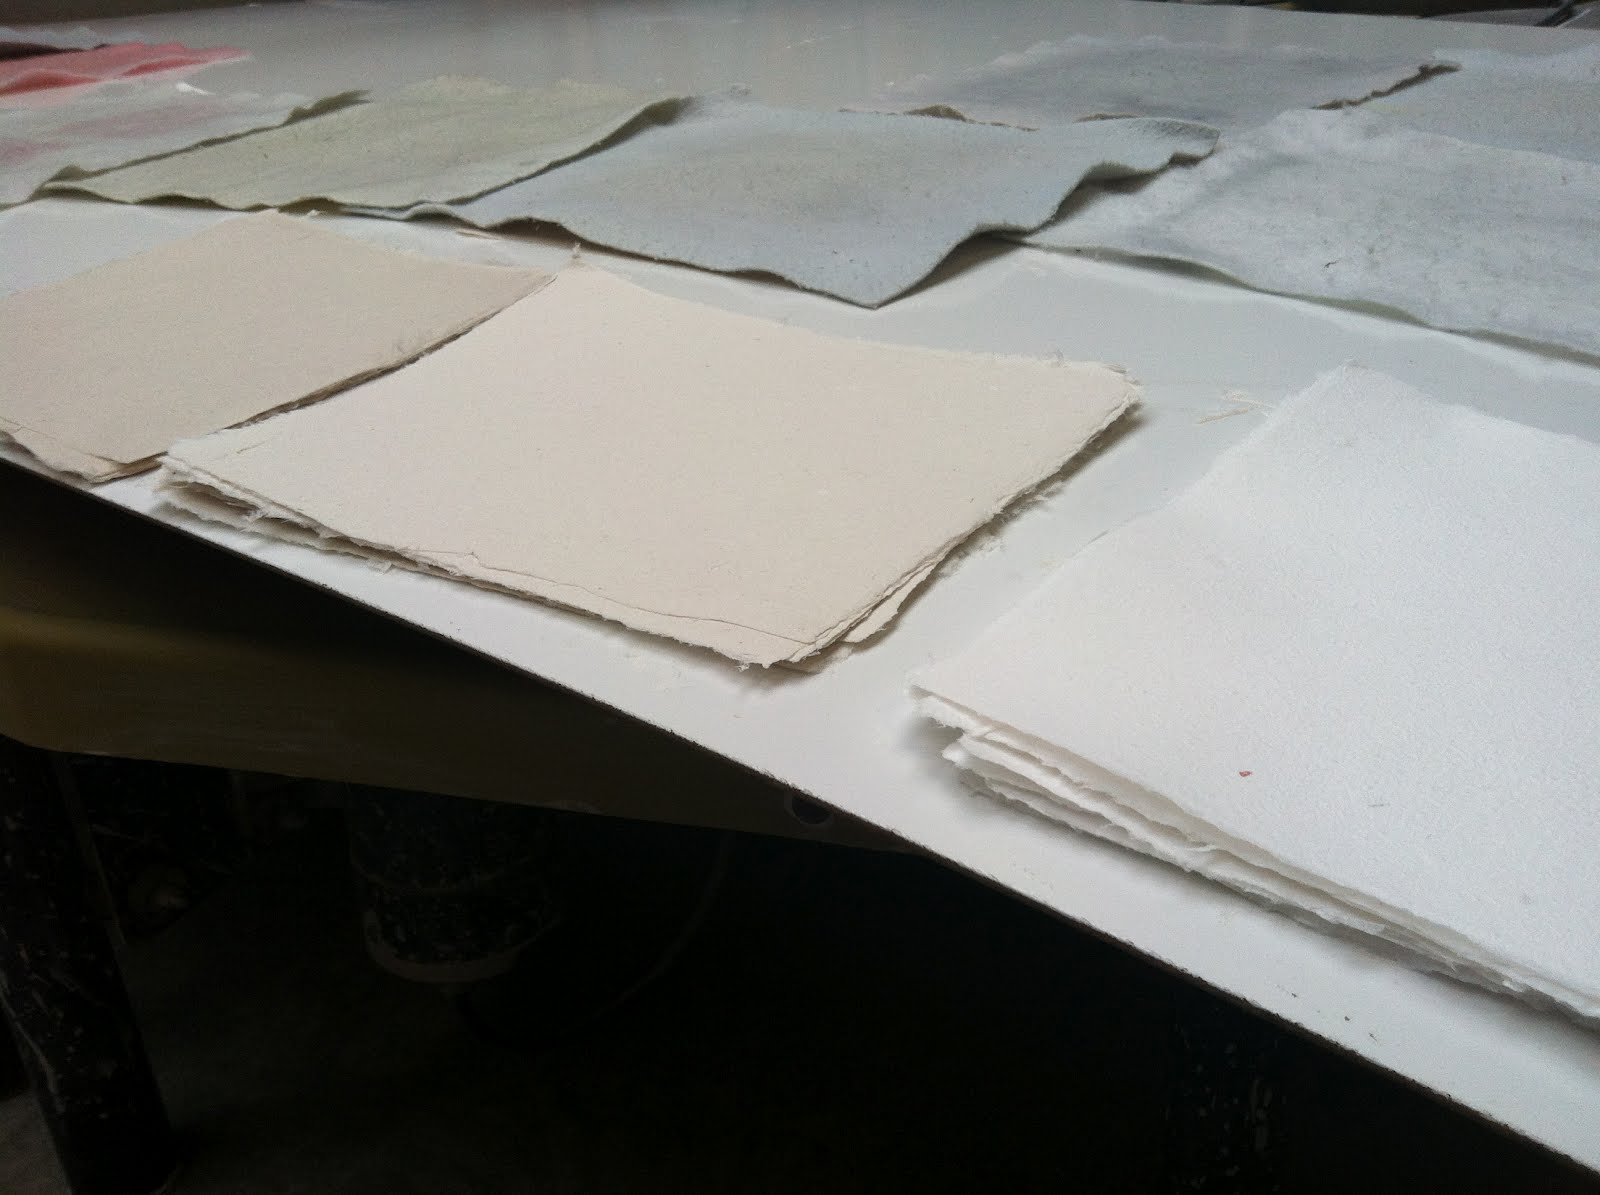
Let's talk about the paper :)  This was class number five in my graduate degree journey was an 8 day intensive down at the college in the ceramics/fibers/paper studio.   As I mentioned, I haven't been in a studio class since I graduated in 1995 and I really missed it. 

Many of the fibers we used for the class were in the form of linters.   Sheets of fibers ready to be rehydrated and beaten into pulp. cotton linters from Twinrocker


   We also processed several fibers from their raw states.  Straw, hemp, kozo, and flax were simmered for 5-6 hours, rinsed until the water was clear, then placed in a Hollander Beater


or could be processed by hand like this.....


(beaten to a pulp has new meaning now)


Once our pulp was ready, it went into large bins with water.  Using frames stretched with window screen on the bottom, and a deckle frame on the top, we pulled papers from the pulp.


After the water drained from the bottom, you pressed the paper onto wet felts, and when you had a large stack, it all gets pressed to remove most of the water.


I learned more than I could have imagined from taking this class.   Paper has new meaning now!  I still have a large group of papers due for a final project, that will be presented in about 2 weeks.


16 July 2012

This contraption...

is called a Hollander Beater. Think rubber ducky carnival game where the ducks go 'round and 'round but with a metal cylinder in the middle that smashes the ducks into little tiny pieces of pulp.

14 July 2012

Work table

Wet felts, mold and deckle boxes, and at the end of the table (top of photo) my post of paper under felts.

13 July 2012

11 July 2012

My view for the next 8 days

This is the ceramics/fibers/paper studio I'm working in for the week.

LinkWithin

Related Posts Plugin for WordPress, Blogger...