22 June 2011

a quick Cracker Barrel checker board


My kids and in-laws recently had a dinner out at Cracker Barrel and were very interested in playing checkers on the porch outside.   Unfortunately there was a suspicious lack of checkers....  When we got home that night I decided to use an old end table and make one for them.


Just a quick tape off of 1 1/2" squares in the center of this end table

chose orange and a dark brown


 taping for next squares - the problem with this sort of project is the amount of tape "wasted" in taping things off.   If I wasn't  looking for exacting square lines letting my kids help paint on this, I probably would have done it free hand without tape.

  2 coats exterior poly, let dry and let the games begin!!   They have rocks vs. globs.   :) 

14 June 2011

an outdoor chandelier

I live in a very old house.   It was build in 1937 by a man who build flour mills for a living,  for his daughter when she got married.   Most of the fixtures (and wiring -ack!) were original when I moved in.   There were two of these lights in the living room and dining room but one didn't work.   This is the one remaining light.  When the other one was removed, I kept it (yeah, I'm not a hoarder, really, I just know good-can-be-used-for-something-sometime stuff when I see it!)


I've been thinking all along, wouldn't that make a neat outdoor light?  So when I stumbled across the LED solar lights at Walmart for only $4.00 I had to pick one up to see if it fit in the bulb socket - success!!  It fit perfectly!


First unscrew what you can, my light had a long threaded bar through the center that attached the light to the ceiling.   Cut and pull out all wiring.  I had to be careful with the bulb sockets - they were made out of porcelain and chipped when I tried to grab it with the needle nose pliers.  


Separate the stem of the LED light from the globe and pull out the red plastic tab to get the batteries to connect. 

Globe rests right inside the cups that once held lightbulbs.  I used GE silicone 2 and added a rim of glue to the inside to hold it securely. 


Hanging at a temporary spot in the yard until I can get the pergola built this summer (hopefully)!  

It doesn't add a tremendous amount of light, but it glows nicely :) 


06 June 2011

Monogram letter

My 1st grader wanted to give something to his teacher this year as a last day of school gift so I found this project with the help of my TwoPeas friends and we worked on it yesterday.  Easy and so cute!  (With a bonus flower bouquet from my gardens)

Here's a link to the project directions on another site.   I'll post mine too.
 
---- Supply list ----
-colored pencils (or crayons or regular pencils)
-sharpener
-for cutting I used this little miter box and thin saw
-small clamp
-glue
-rice paper or other nice scrapbook paper
-picture frame
-monogram letter printout from Word
-we used rub on letters for the name 


Next he lined up all the colors in the order he wanted to use them


He sharpened them all


We marked the length we needed to cover the monogram letter and he cut them using a little clamp to hold the pencil steady in the miter box.   you can see a few already cut in the picture on the left.  


All cut and ready to be moved to the final paper.


We used a piece of thicker rice paper with a nice texture and some paper fibers visible.   Placed the printed monogram letter underneath for a gluing guide.


Once the pencils were glued in place and the glue had dried I gave him my rub on letters and he added her name by himself.   Placed in a frame with an extra layer of cardboard behind the rice paper so it wouldn't buckle.   Glass was removed from the frame.  
Very cute!   Hope she likes it!!  


:)


27 May 2011

planning ahead....

This is the store bought wedding ring quilt I have on my bed now.  I'm thinking of replacing it with a red and white quilt.... I've found so many I like, it'll be tough to narrow it down to one favorite! 

Do you have a favorite red and white quilt you've seen online or in person?

19 May 2011

a border

You know when you get an idea for a project and you just have to do it right then, no matter what else you have going on?  That's what happened yesterday.  Mid packing for kids, getting gear ready for my weekend, cleaning the whole house, getting laundry cleaned, dried, folded and - here's the hard part - put away, I woke up with an itch to start something to do with this border so I could feel as if I worked on something creative this month.  
After dragging out the bin, box and machine I though I'd try a rainbow border on my Olive quilt.  I have 2 1/2 inch strips of all the colors I put in the 9 patches, plus a few extras that didn't make the initial cut.  Here's a grouping of color shades.


Stitched them together into strips of 4.  


Cut 2 inch strips from these.

I added another 2 inch strip of white around the entire quilt.  I didn't really like the look of the colors directly against the block I did previously.


and here's the general layout.  

I think one more strip of white around the edges before trying to figure out a binding.

Now, I think I'll travel with the colors and the white up to the corner but I don't want to miter them.  I'd like to find something super extra fussy to do as a corner piece.   

Any suggestions?

15 May 2011

so close and yet so far....

Almost to the end of the school year.  Almost to the time where I have a **little** time to myself. 

Hope to get back to the quilt once June rolls around!

04 May 2011

Door knob coat hanger (and bonus shelf)

A few dozen years ago, I went to an auction with some friends of mine.   They were looking for political memorabilia but I was just looking.   The auction came up for a tomato bushel basket filled with these doorknobs and locks with the section of the door still attached.   So I bid and I got them.  

  The first thing I made with them is this hanging shelf above my claw-foot tub in the downstairs bathroom.  I put this together in the same way as I will describe in the next few photos.  The board came off the front porch when I replaced a few damaged sections.   The paint was there.  I sealed it with 2 coats clear exterior poly to keep the paint there, and to protect the board from wet hanging towels.

First I took the door knobs apart and away from the lock sets.  They just unscrewed under the ceramic knob with a small flat head screw.

                              
  I found a wooden dowel that fit into the base of the doorknob.  Then I drilled a hole into the wood where I wanted the knob to go. 
 Cut a short piece of dowel rod and pound it into the hole with a hammer.
Add a drop of wood glue and slip the knob onto the dowel.

paint
Hang finished panels.  This is the corner of my back porch.  I needed a spot to hang longer coats.  

Instant coat hanger.   

Assembly time - 10 minutes.       Drying time - 2 hours.       Hanging time - 5 minutes.


18 April 2011

Now that I've passed on the gift.....

I can post about making it.  Here's a little baby quilt I made for Katie and Baby Blake (he's a cutiepie!)

 My inspiration quilt again.   Really, really love this polka-dot fabric and must have it.   

 I started mine with a fat pack of these cute bugs and frogs..... added in some fleece solid colors...
 First try.   Epic fail in piecing together.

Second attempt.   Better.

 Layout on the kitchen table to get the placement just right.


 Here's my countertop where I work.  I have to keep things up and out of reach or the little monkeys I live with want to help me.   

 piecing
 pinned and stitching in the ditch

 lines marked with a Hera marker
Clover Hera Marker   

close up of the froggies Miss Olive loves so much


quilting finished
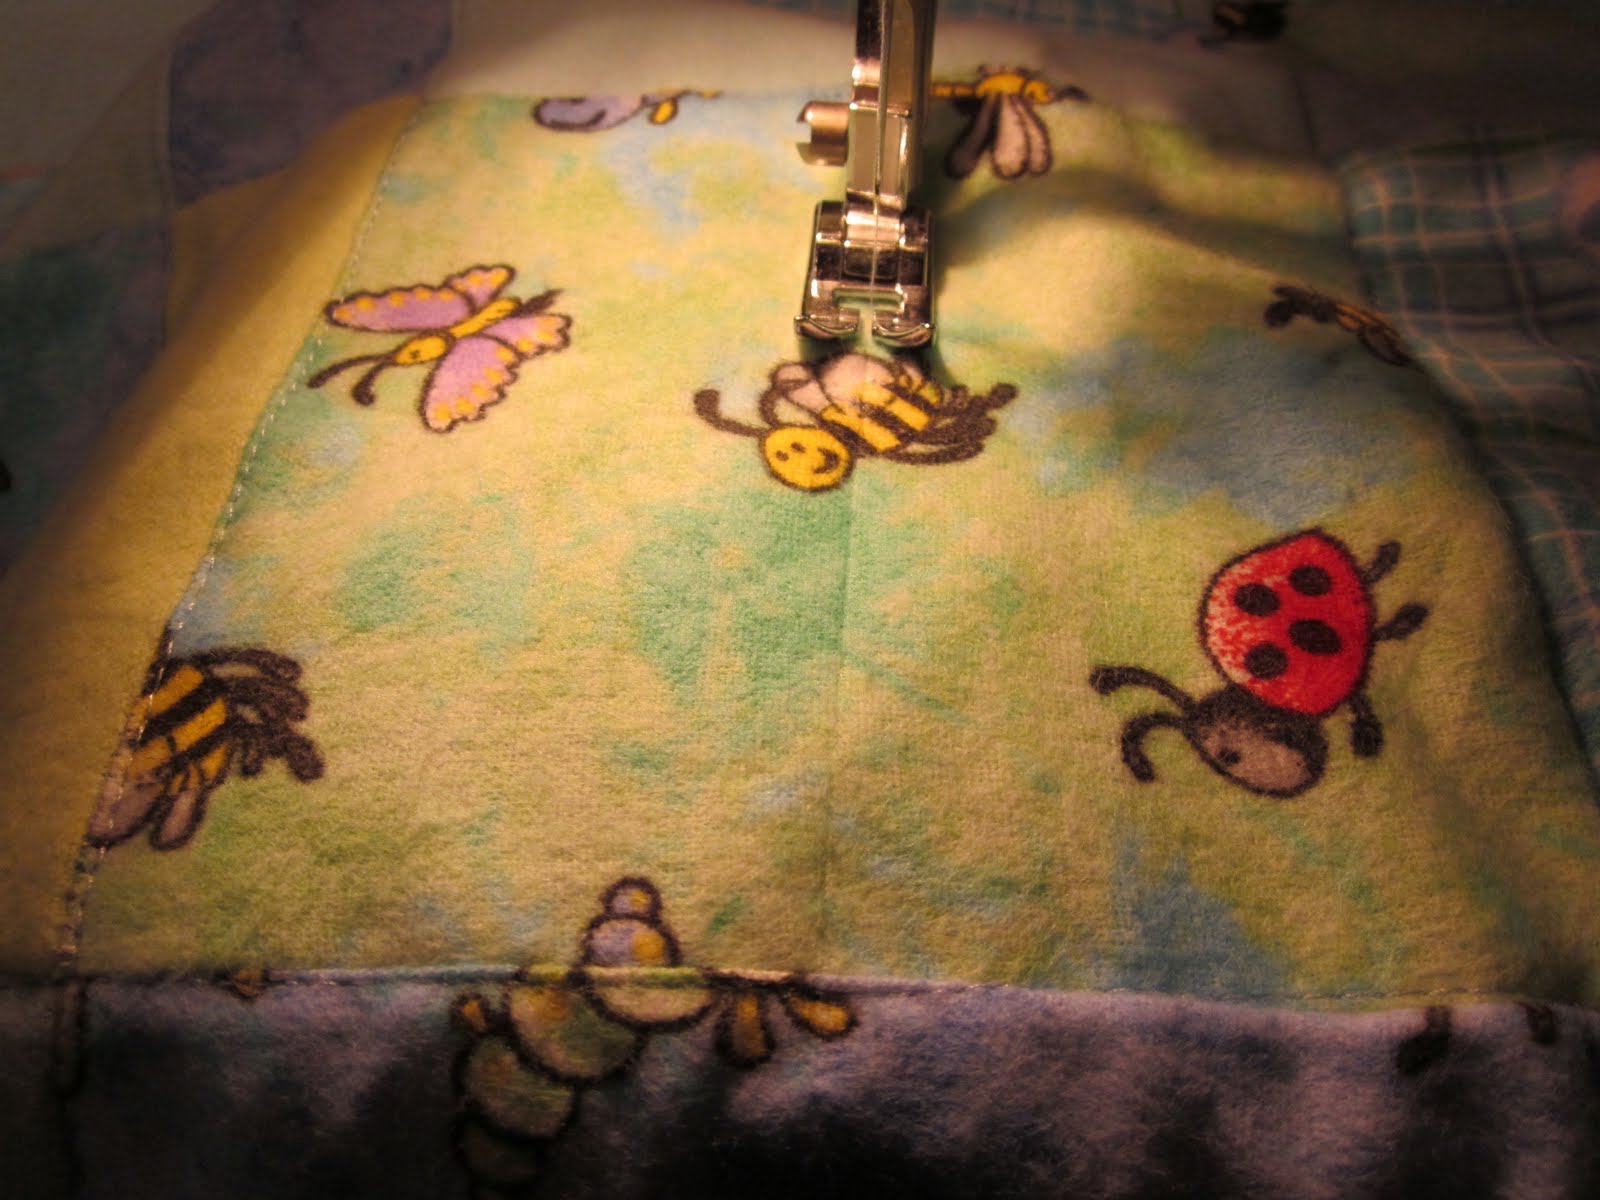
then turned the edges over twice and stitched a border.


Now, did I take a finished picture?   Nope.  Blah.  
Maybe Katie will take a picture with mr Blake on the blankie?  

:)

LinkWithin

Related Posts Plugin for WordPress, Blogger...